Sunday 27 February 2011

Aussie Angels & Birthday Celebration Photos...

Evening ladies & sorry it's been a while! I've been mega rushed off my feet this week looking after my poorly Mum and her bad back. She's now on Tramadol for the pain and still can't yet move off the sofa! :( 

This week however I received a very exciting email from Emma at Aussie welcoming me into the 'Aussie Angels', a venture by Aussie aimed at bringing their products to bloggers and in turn educating us all of the treatments and benefits which Aussie can offer our luscious locks! 

I'm currently torn between the 'Aussome Volume' and the 'Luscious Long' tribes.. Although, as you all know I do have naturally long hair, I feel volume in my hair is more important than the length as I'm most deffo a big haired kinda' gal! Basically, I'd like to say a huge thank you to Aussie for giving me this opportunity & I can't wait to get started with my *Angelic duties!*

On another note, it was one of my good friends' birthdays last week and due to her being a Mummy to be, myself and the bestie Kirsty decided to take her out for a scrummy meal to celebrate, rather than the obligatory night out, which of course she wouldn't be able to enjoy as much! We went to our favourite Sea Front Italian Restaurant/Bar and along with Birthday balloons & surprise chocolate cake we had a fab night! 


I opted for a simple long sleeved black dress with these gorgeous taupe suede shoesies from ASOS..


With the Birthday Girlie herself...


Yummy Chocolate Cake...

We all had a fab night, as usual.. Hope you ladies have all had a fab weekend & remember if you have any questions feel free to either e-mail or Formspring me :) 

Lovesss Xxx

Sunday 20 February 2011

Naked Rediscovery...

Since filling my MAC neutral palette at Christmas after receiving so many shadow pans as gifts, I've been pretty much using it every day. Consequently, my Urban Decay Naked Palette has suffered some neglect and has barely been used!

Last weekend however, after becoming somewhat bored of my usual shadow combinations, I decided to pull out the infamous palette and use it to create a simple, yet effective look for a night out..


This was the final look.. 


A closer look at the eye makeup shows the shadows I used..

I firstly primed the eye using UDPP in Sin and placed 'Virgin' all over the lid and up to the brow bone as a base...

I then used 'Half Baked' a gorgeous golden shade, quite heavily on the lower portion of my eyelid to create a sumptuous bronzed effect. I then took 'Darkhorse' on a MAC 222 and gently blended through the crease to darken the eye but blend out any harsh lines at the same time. I finally took 'Sin' and placed it on the brow bone as a highlight and in the inner corner of my eye to brighten it up. 

To add a little more drama to the eye I used the 'Cheryl' lashes from my False Lash Company 'Styleyes Lashes' which are still available over at www.styleyes-lashes.co.uk - Remember you're getting 10 pairs of lashes for just £5 .. Unbeatable value I'm sure you ladies would agree ;) 

I really loved this combination and will definitely not be neglecting the palette again any time soon! 

I'll leave you lovely lot with a few other pictures from that particular night out! hehe


Me & the bestie Kirsty


Enjoying a much deserved glass of Rosé hehe

Hope you're all well.. Lovesss Xxx

Monday 14 February 2011

MAC Wonder Woman Haul ♥ .. Photo Heavy!

A few of you who have already seen the 'sneak peek' images on my Twitter account will know that my sister has been visiting NYC this past with with her University course; Fashion Communication. 

During a stop off at Amsterdam airport, waiting to catch their flight to JFK she realised that the MAC counter in the airport already had full stock of the soon to be released 'Wonder Woman' Collection. As she knew i'd been dying for the release, I got a text straight away asking what I wanted picking up as they had everything in stock! 

Needless to say, I don't think i've ever texted as quick in my life! I already had in my mind what I wanted from the collection and here is what she picked up for me :) 


All of the collection comes in Limited Edition packaging...

 I was desperate to get my hands on both of the 'JUMBO' MSF's in the collection; 'Golden Lariat' & 'Pink Power'. They really do not disappoint and are truly massive!

 Golden Lariat MSF

This has been pitched as the product for darker skin tones. It consists of three different shades; a deep coral [ideal for blush], a matte bronzer [contour shade] and also a bright shimmering gold [highlight]

All three shades are highly pigmented


This is my fingers lightly brushed over the surface of the MSF

 Pink Power MSF

Again in three distinct sections, this one I feel would be a lot more suited to those of a paler complexion - Mainly due to the lighter matte bronzer in the centre. 

The blush shade is a beautiful shimmering pink and the highlight a slightly more toned down version of the Golden Lariat. 


I decided after much deliberation that the lipsticks in the collection were just not for me and opted instead for a lipglass in the shade 'Emancipation' 


This is as you can see a gorgeous shimmery neutral pink, perfect on it's own, or over a lipstick!


This is again huge, with the tube being 10.5g instead of the usual 4.8g!

I'm totally in love already with what she managed to pick up for me :)

Keep your eyes peeled for a Wonder Woman FOTD post as i'm dying to try out all of the products properly!

What are you most looking forward to from this collection? 

Lovess Xx

Friday 11 February 2011

New Obsession ♥ MAC Tan Pigment & FOTD

Woooo it's finally the weekend! 

I don't know about you dolls, but I've been desperate for Friday to arrive... The prospect of drinks & a good catch up with the girls tonight is most definitely what has gotten me through this week :) 

I'm currently hovering around at home as I ordered some shoesies to wear tonight from ASOS on Tuesday evening but only selected 'Free Delivery' and they still haven't arrived! They then went and offered free next day delivery yesterday too :( .. I'll be gutted if they don't arrive now! hehe 

So anyways, let's get round to the point of this post! 

A little while ago I saw a post by the beautiful Zara over at 
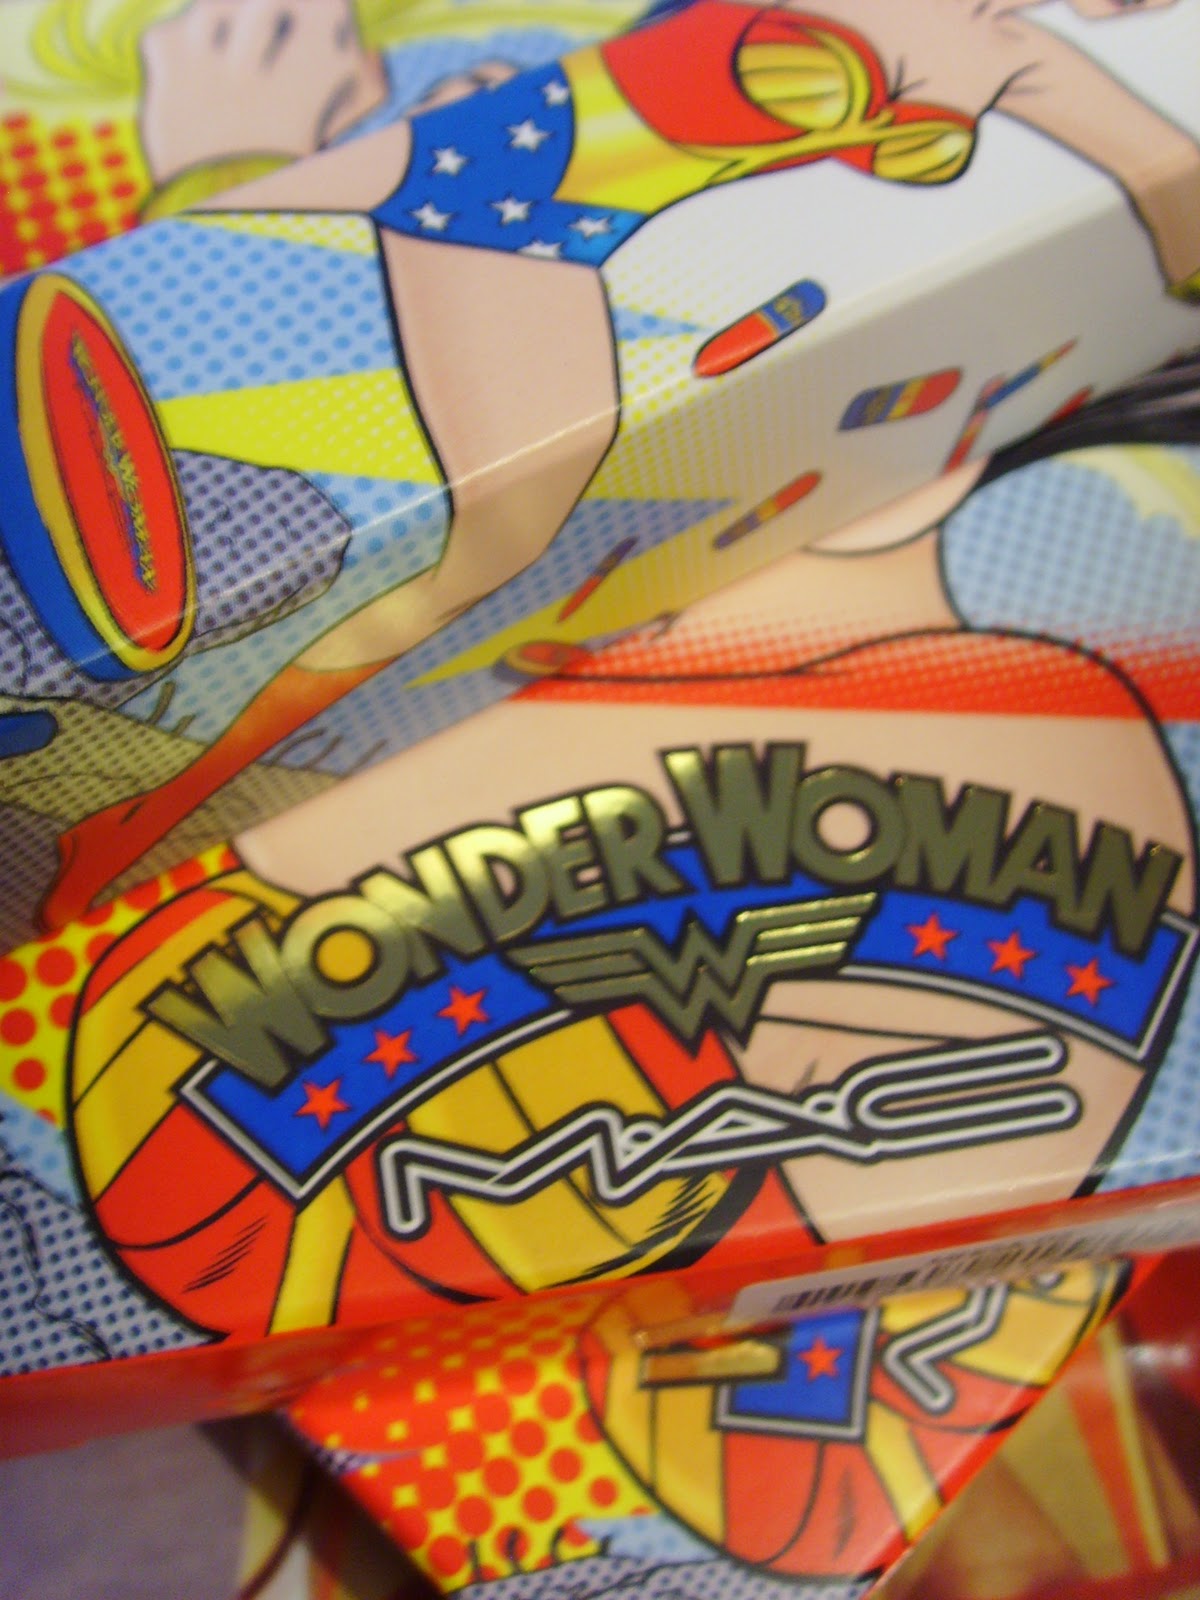
Mouldy Fruit featuring this little beaut of a product; MAC Tan pigment. I'd previously strayed away from any sort of pigments as I always assumed that they would be super messy and I was under the impression I would be able to create a look similar to what I would be able to create with a pigment, with plain old eye shadow. 


How wrong was I!!

Yesterday was the first day I really played about with the product and I have to say it was a pleasure to work with and it's multiple uses really warrant the £15.50 price tag. 


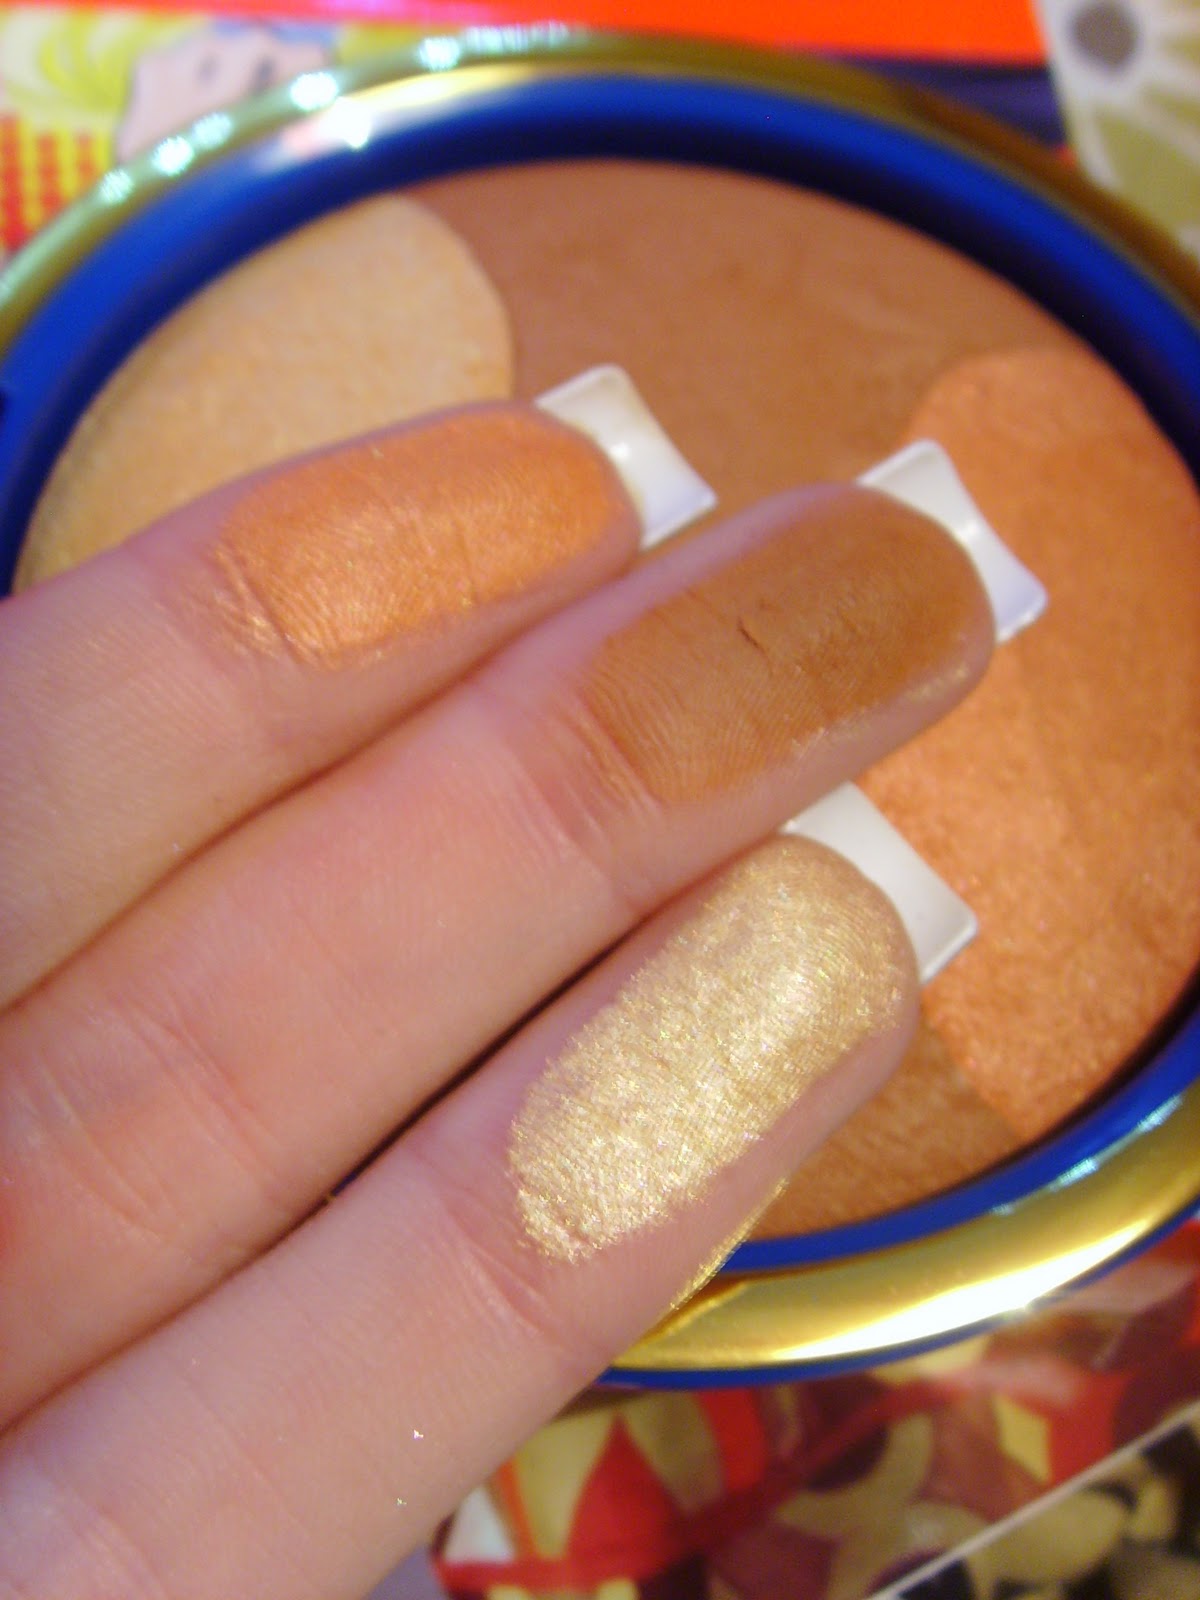
Apologies for the slightly blurry swatch photo; the lighting was odd when I was taking photos and couldn't quite get it to photo correctly! But even from this you can see how beautiful the colour is, it's almost like a lighter version of MAC's Woodwinked eyeshadow, a really sumptuous golden bronze colour. 


I firstly used the pigment on my lids which created a gorgeous, almost 3D appearance. 

Because of my inexperience in working with pigments, I firstly used MAC's Soft Ochre Paintpot to give a uniform colour to my lid and then, for good measure I placed some UDPP all over the top of the Paintpot to ensure the pigment would 'stick'. I took the smallest amount on a MAC 239 and gently patted it down up to the crease. Fallout was minimal, which may be due to the use of 2 eye primers hehe! 
Other products used on my eye were MAC's Nylon to highlight brow and tear duct and Carbon through the crease to give the eye a more dramatic look. I used the Illamasqua Precision Ink on my upper lash line to tie in the Rihanna lashes from my own lash company 'Styleyes Lashes' .. These lashes are perfect for daytime wear as they aren't too over the top, they just add a bit extra length and volume. You can also carry them into the night by adding a touch more mascara to give an even more dramatic appearance. 

As previously mentioned, the product is a great multitasker! After seeing how glowing Zara looked wearing this as a highlight I just had to give it a go! You all know how much of a lover of MAC's MSF's, using them literally every day to give me a healthy glow... Well this does exactly that!  I took a very small amount on a MAC 168 and gently buffed it along my cheek bones and slightly down into my cheeks.

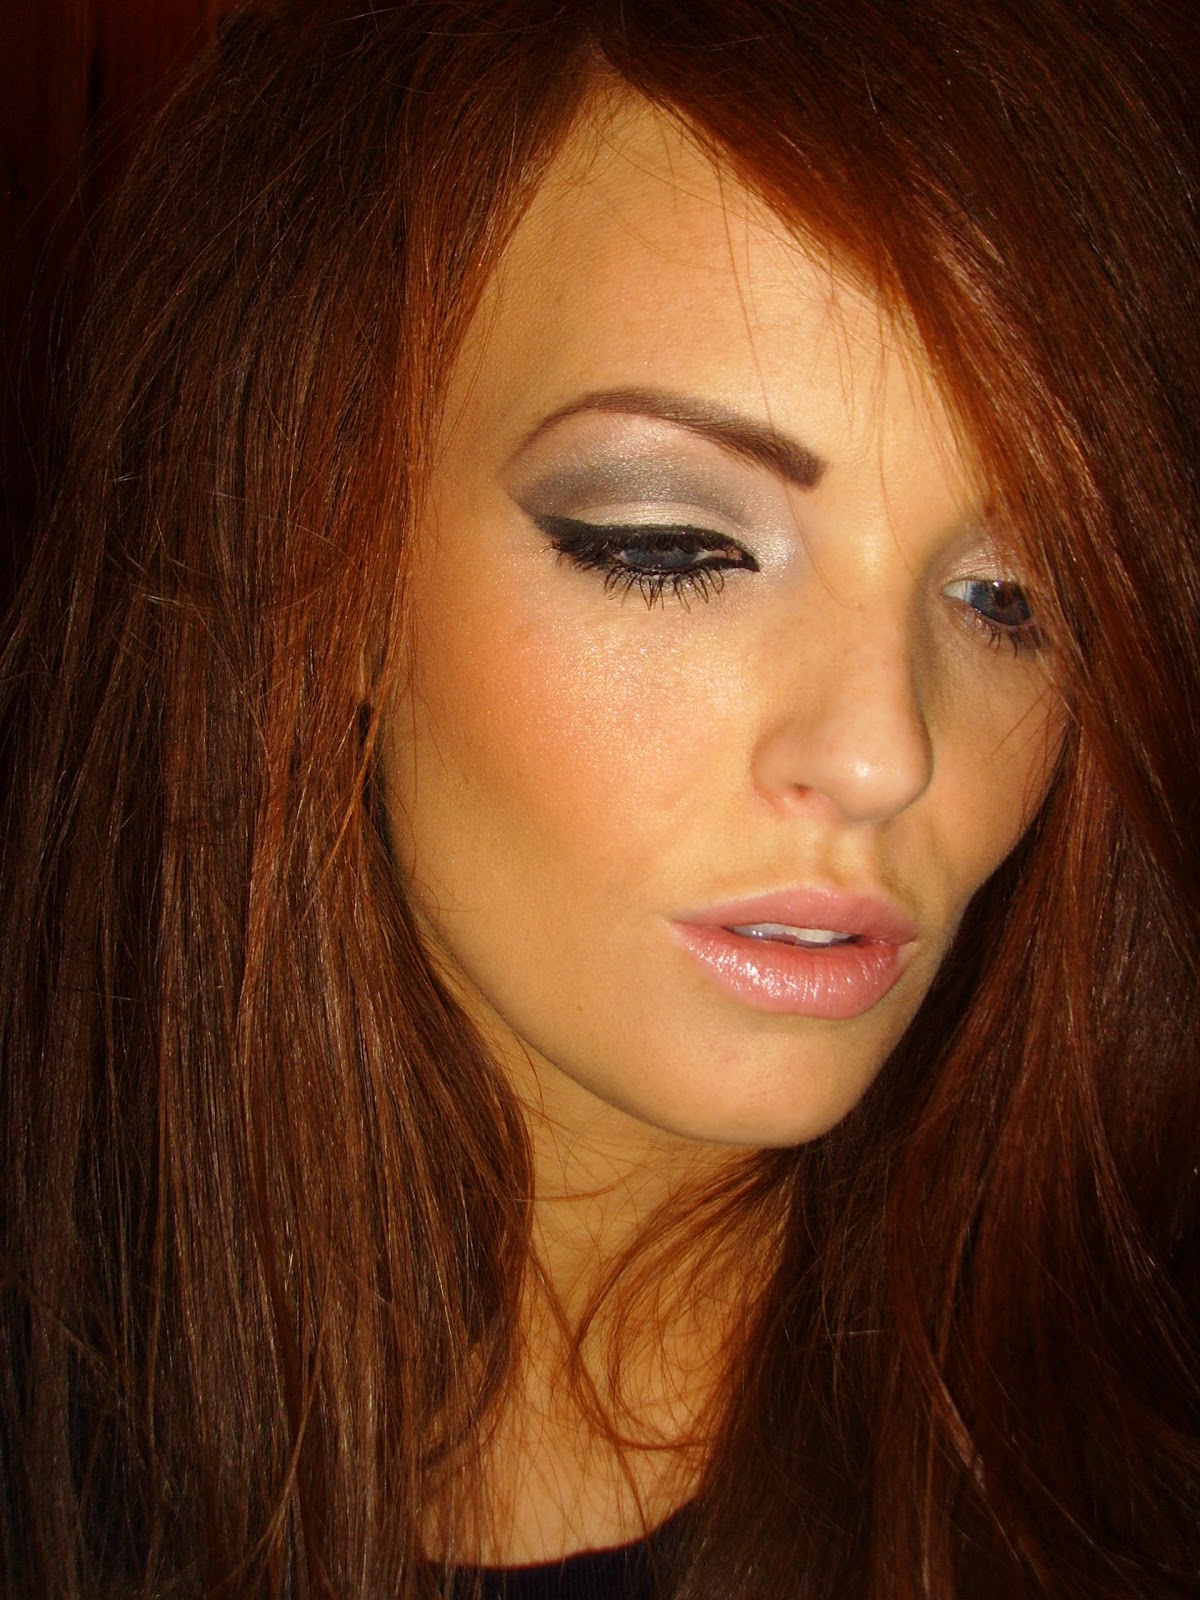
This is the final look I ended up with...


Other products used include...

MAC Studio Fix Fluid NW25
MAC MSF Natural in Deep Dark
NARS Orgasm blush
MAC Myth lipstick
Lancome Juicy tube for a glossy lip over Myth!


What are your thoughts on MAC Pigments? Do you have any recommendations?

Have a super fun weekend! 

Xx

Monday 7 February 2011

Arabic Inspired 'Cut Crease' Eye Makeup...

Evening girls..

I'm sure I'm not alone in my appreciation of Arabic inspired makeup, especially when it comes to eye makeup application. I think Arabic women have to most amazingly beautiful almond shaped eyes and due to their skin tones are able to carry off wearing colours most of us could only dream of. I myself have your typical 'ordinary' shaped eye; no hint of an almond shape unfortunately! 

However, after looking at some gorgeous images which were really inspiring, I decided to have a go myself at creating the illusion of an almond shaped eye, with shadow applied using a 'cut crease' technique. 


Excuse my only making over one eye, it was before bed and was really supposed to be in the process of removing makeup, rather than applying more!


I created this look with the help of some masking tape applied at an angle to keep the finish of the shadow neat and also to help the appearance of a more elongated eye.


After priming my eye with Urban Decay Primer Potion in Sin, I applied MAC's Vanilla eyeshadow all over the eyelid with a MAC 227 brush. I then took Nylon, again by MAC as a highlight and applied it sparingly to the inner corner and my brow bone. The look is created mainly with matte shadows, so the use of Nylon on the brow bone really makes the eye pop and adds a bit of interest. I then took Espresso by MAC on a dense brush, namely the 214 and drew a stark line through my crease. The purpose of the stark line is to act as the 'cut crease' and to crease a contrast to the Vanilla which has already been applied. The next step is to blend out the line through the crease, to do this I switched up between a MAC 222 and 224 until I achieved the finish I wanted. The key to this is definitely blending! 

I then lined my upper eyelid with MAC's Black Track Fluidline, taking the brush slightly at an angle to follow the angle of the shadow which was created by the masking tape being held in place. A touch of smoulder along my waterline and voila! 
This is definitely a look which I would love to create again; possibly on both eyes next time ;) 

I'd also like to add some falsies to the eyes to give it that extra bit of glamour! 

What do you lovelies think? Have you ever attempted a cut crease look? 

Lovess Xx